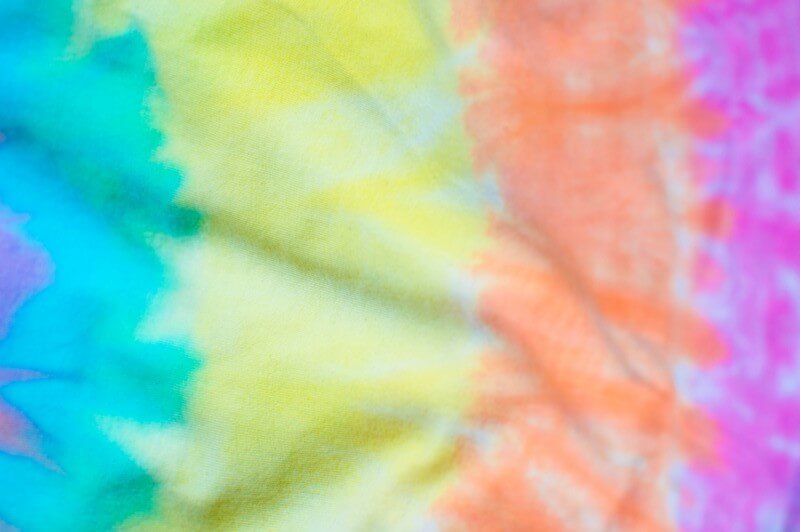
Take a back to school break! Plan a Tie Dye Party!
“Back to School” has finally begun to settle in and you’re finding your routine again. With a full schedule, of school pick-ups and homework it may be time for everyone to take a mid-fall breather! Before real winter temperatures set in, what can you do to give the whole family a little relief from the chaos of daily life? Plan a day to get creative, and a little messy at the same time! Plan a Tie-Dye Day!
How to Plan a Tie-Dye Party in 3 easy steps!
 Step 1: Items to Tie-Dye
Invite your friends and family to your back yard, or any outdoor area you can find. Ask them to bring their own items to dye. Give them some fun suggestions to bring along like a pair of white canvas sneakers, a canvas tote bag, reusable grocery bags, an apron, a hair band, a makeup bag, hair scrunchies, t- shirts, tank tops, and much more. Tie-Dye isn’t just for kids! Invite the adults too! Each of your guests should be instructed to bring the items they wish to dye, and you will provide the rest!
Pro Tips for Tie-Dying:
- T-shirts should be 100% cotton.
- Choose a few key items to tie dye so that you can make them ahead of time and have a sample to show off.
 Step 2: What you will need to set up your workstations

- 1 Tie-Dye kit from your local crafting store – for every 6 guests. Kits come in various sizes and many offer up to 18 different colors. Choose the “1-Step” version of the kits, with bottles.
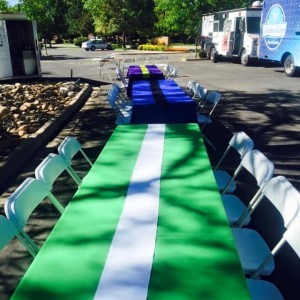
- Sturdy tables – like those provided by your party experts at Colorado Party Rentals
- Large disposable, plastic table coverings
- Plastic bins for dyeing in
- Plastic gloves and plastic aprons
- Filled water pitchers
- Gallon size zip top bags – enough to provide approximately 3 per guest
- Paper towels
- Wet wipes
Step 3: Time to Tie-Dye!
- Put on gloves and aprons.
- Fill your craft store bought, “1 step dye bottles” with water to the fill line. Shake well until dye is mixed thoroughly.
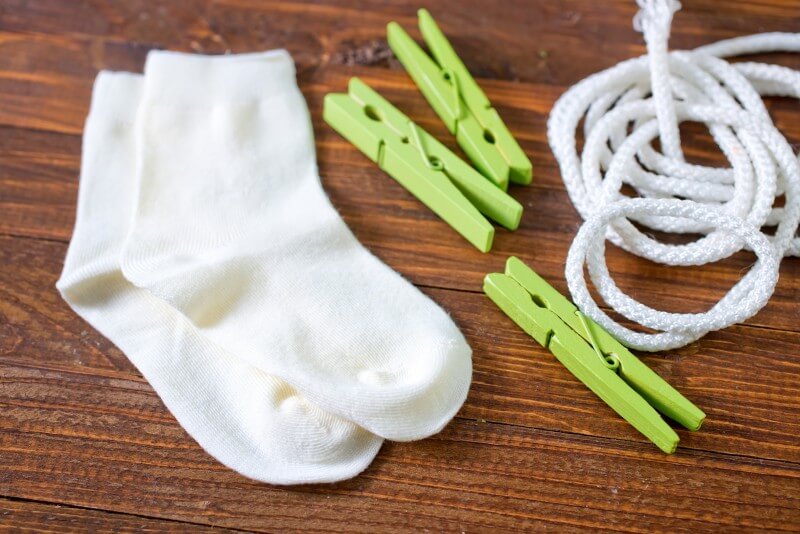
- Choose which technique you’d like to try. Now it’s time to tie up your shirt, tank top, apron or another item. Tie the item according to the suggested technique guide that came in your kit.
- Place tie-dyed shirt into a plastic bucket or bin and begin squirting the dye.
- Instruct guests to place their dyed item into a plastic gallon size zip top bag once finished, and seal.
- Provide a wash care instruction card to each guest as part of their party favor.
Pro Care and Wash Tips for Tie-Dye Items
- Allow dyed shirt or item to remain inside the zip top bag (wet) for 24 hours.
- Take out and remove strings.
- Spread out and allow to air dry for another 24 hours.
- Next, wash alone in cold water without detergent the first time.
- Again spread to air dry. After this first washing you will be able to wash it normally.
Don’t stress with the hectic schedule of work and school! Enjoy a fun day of messy arts and crafts! With these simple steps you can have a tie dye day full of fun and creativity!